How to make
Cookie cutters:
-
-
- 1. Cut a
strip of 23 gauge sheet metal. We use a 1 1/2 inch wide strip
by 14 inches long in copper 23 gauge. Other
metals can be used such as brass but aluminum is generally too
soft and does not solder. (Thicker or thinner metal will not
work as well for this project.)
-
- 2. Here we
will make a circle but any shape can be made. Wrap around a 3
1/2 inch tube leaving an overlap. see Flattening,
Bending & Forming Metal
-
- 3. Clean
to prep for solder see Cleaning Copper and Brass Then Solder with a lead
free solder. Use flux if it does not have a flux core. see:Soldering
introduction)
-
- 4. cut another
strip of metal for the handle fold down over sides of circle
over the top and solder. see Bending & Forming
Metal
-
- 5. Clean
and you have a basic cookie cutter.Cleaning Copper and Brass Hint
clean cookie cutter before and after use with a scouring pad
to keep it bright. Place in a sealed plastic bag.
-
- It is done.
(We will have photos soon)
-
- This basic
cutter can be modified by bending in different shapes such as
an egg shape.
-
- Or the strip
can be bent into a shape before soldering. For example a star-
Use a 12 1/2 inch long strip. Mark every 1 1/2 inches along the
strip Ten times. leaving a 1/2 inch on the end. Fold one way
and the other on each mark (zig-zag) including the 1/2 inch tab.
- see Bending
& Forming Metal Over
lap the tab
and solder. A handle can be added as in #4 above.
-
- Solderless
cookie cutters can be made by gluing the ends with epoxy, but
they may not last as long. They also can be fastened by drilling
two holes in the overlap joint and using a small screw or rivets.
Seams can be made by bending or a hammering a flat lap joint
- nested flat seams.
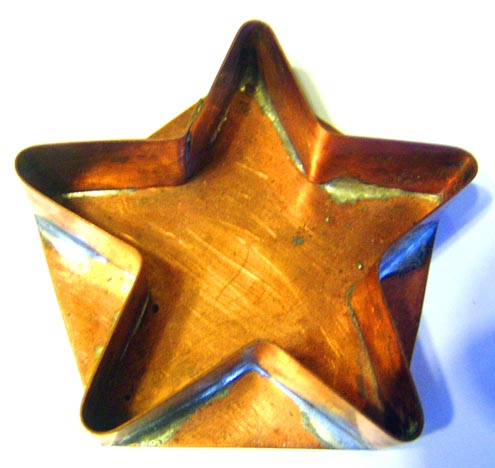
- Photo shows
an older cookie cutter made with a flat back and strip of copper
soldered on. Some have holes in the middle of the backing to
release the air and the dough.
-
-
-
-
-
-
-
-
-
-
-
-
-
-
- Copper sheet and brass sheet are
easy to work: they solder easily, cut with a tin snips.
-
-
-
-
-
-
-
-
-
|